Introduction
Like many miniature hobbyists, I buy more models than I can immediately field. After spending hours assembling, painting, and basing them, I also need a storage setup that protects that work.
Before Blood and Plunder, my go-to method was simple: line Plano boxes with sheet metal and magnetize the bases. That works well for many games, but it breaks down with Blood and Plunder’s smaller 20mm bases.
When miniatures are packed tightly, base magnets can pull models into each other and chip paint. My fix was to magnetize the movement tray instead, then attach steel strike plates to each model base. This keeps units stable for both gameplay and transport without the models attracting each other directly.
What This Guide Covers
- Printing movement trays
- Installing magnets in the trays
- Attaching strike plates to miniature bases
- Stowing miniatures in trays for transport
- Storing loaded trays in rack systems
1. Print the Trays
I provide the STL files for free on GitHub.
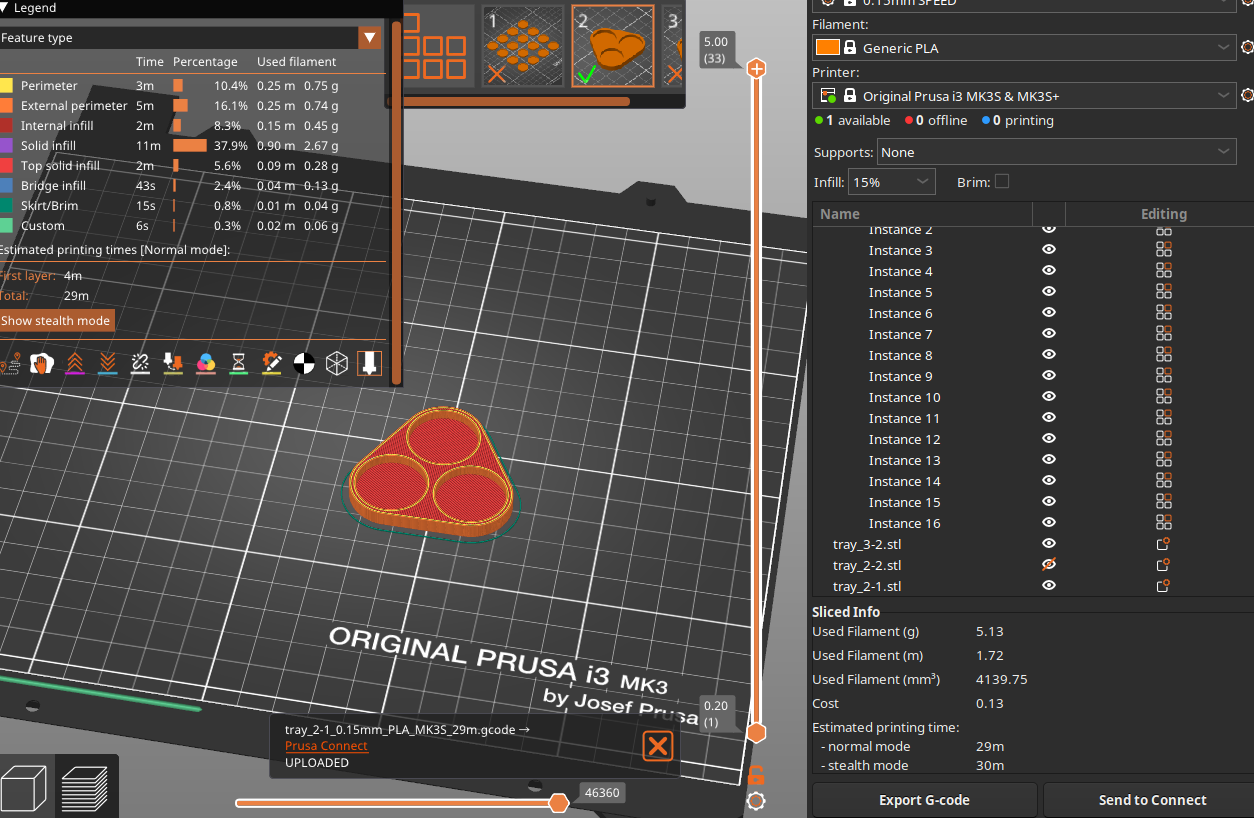
The trays are intentionally thin, so print at 0.15mm layer height or smaller. The wall between the magnet cavity and
the tray surface is only 0.3mm. There are tray sizes for units from three to nine models.
2. Install the Magnets
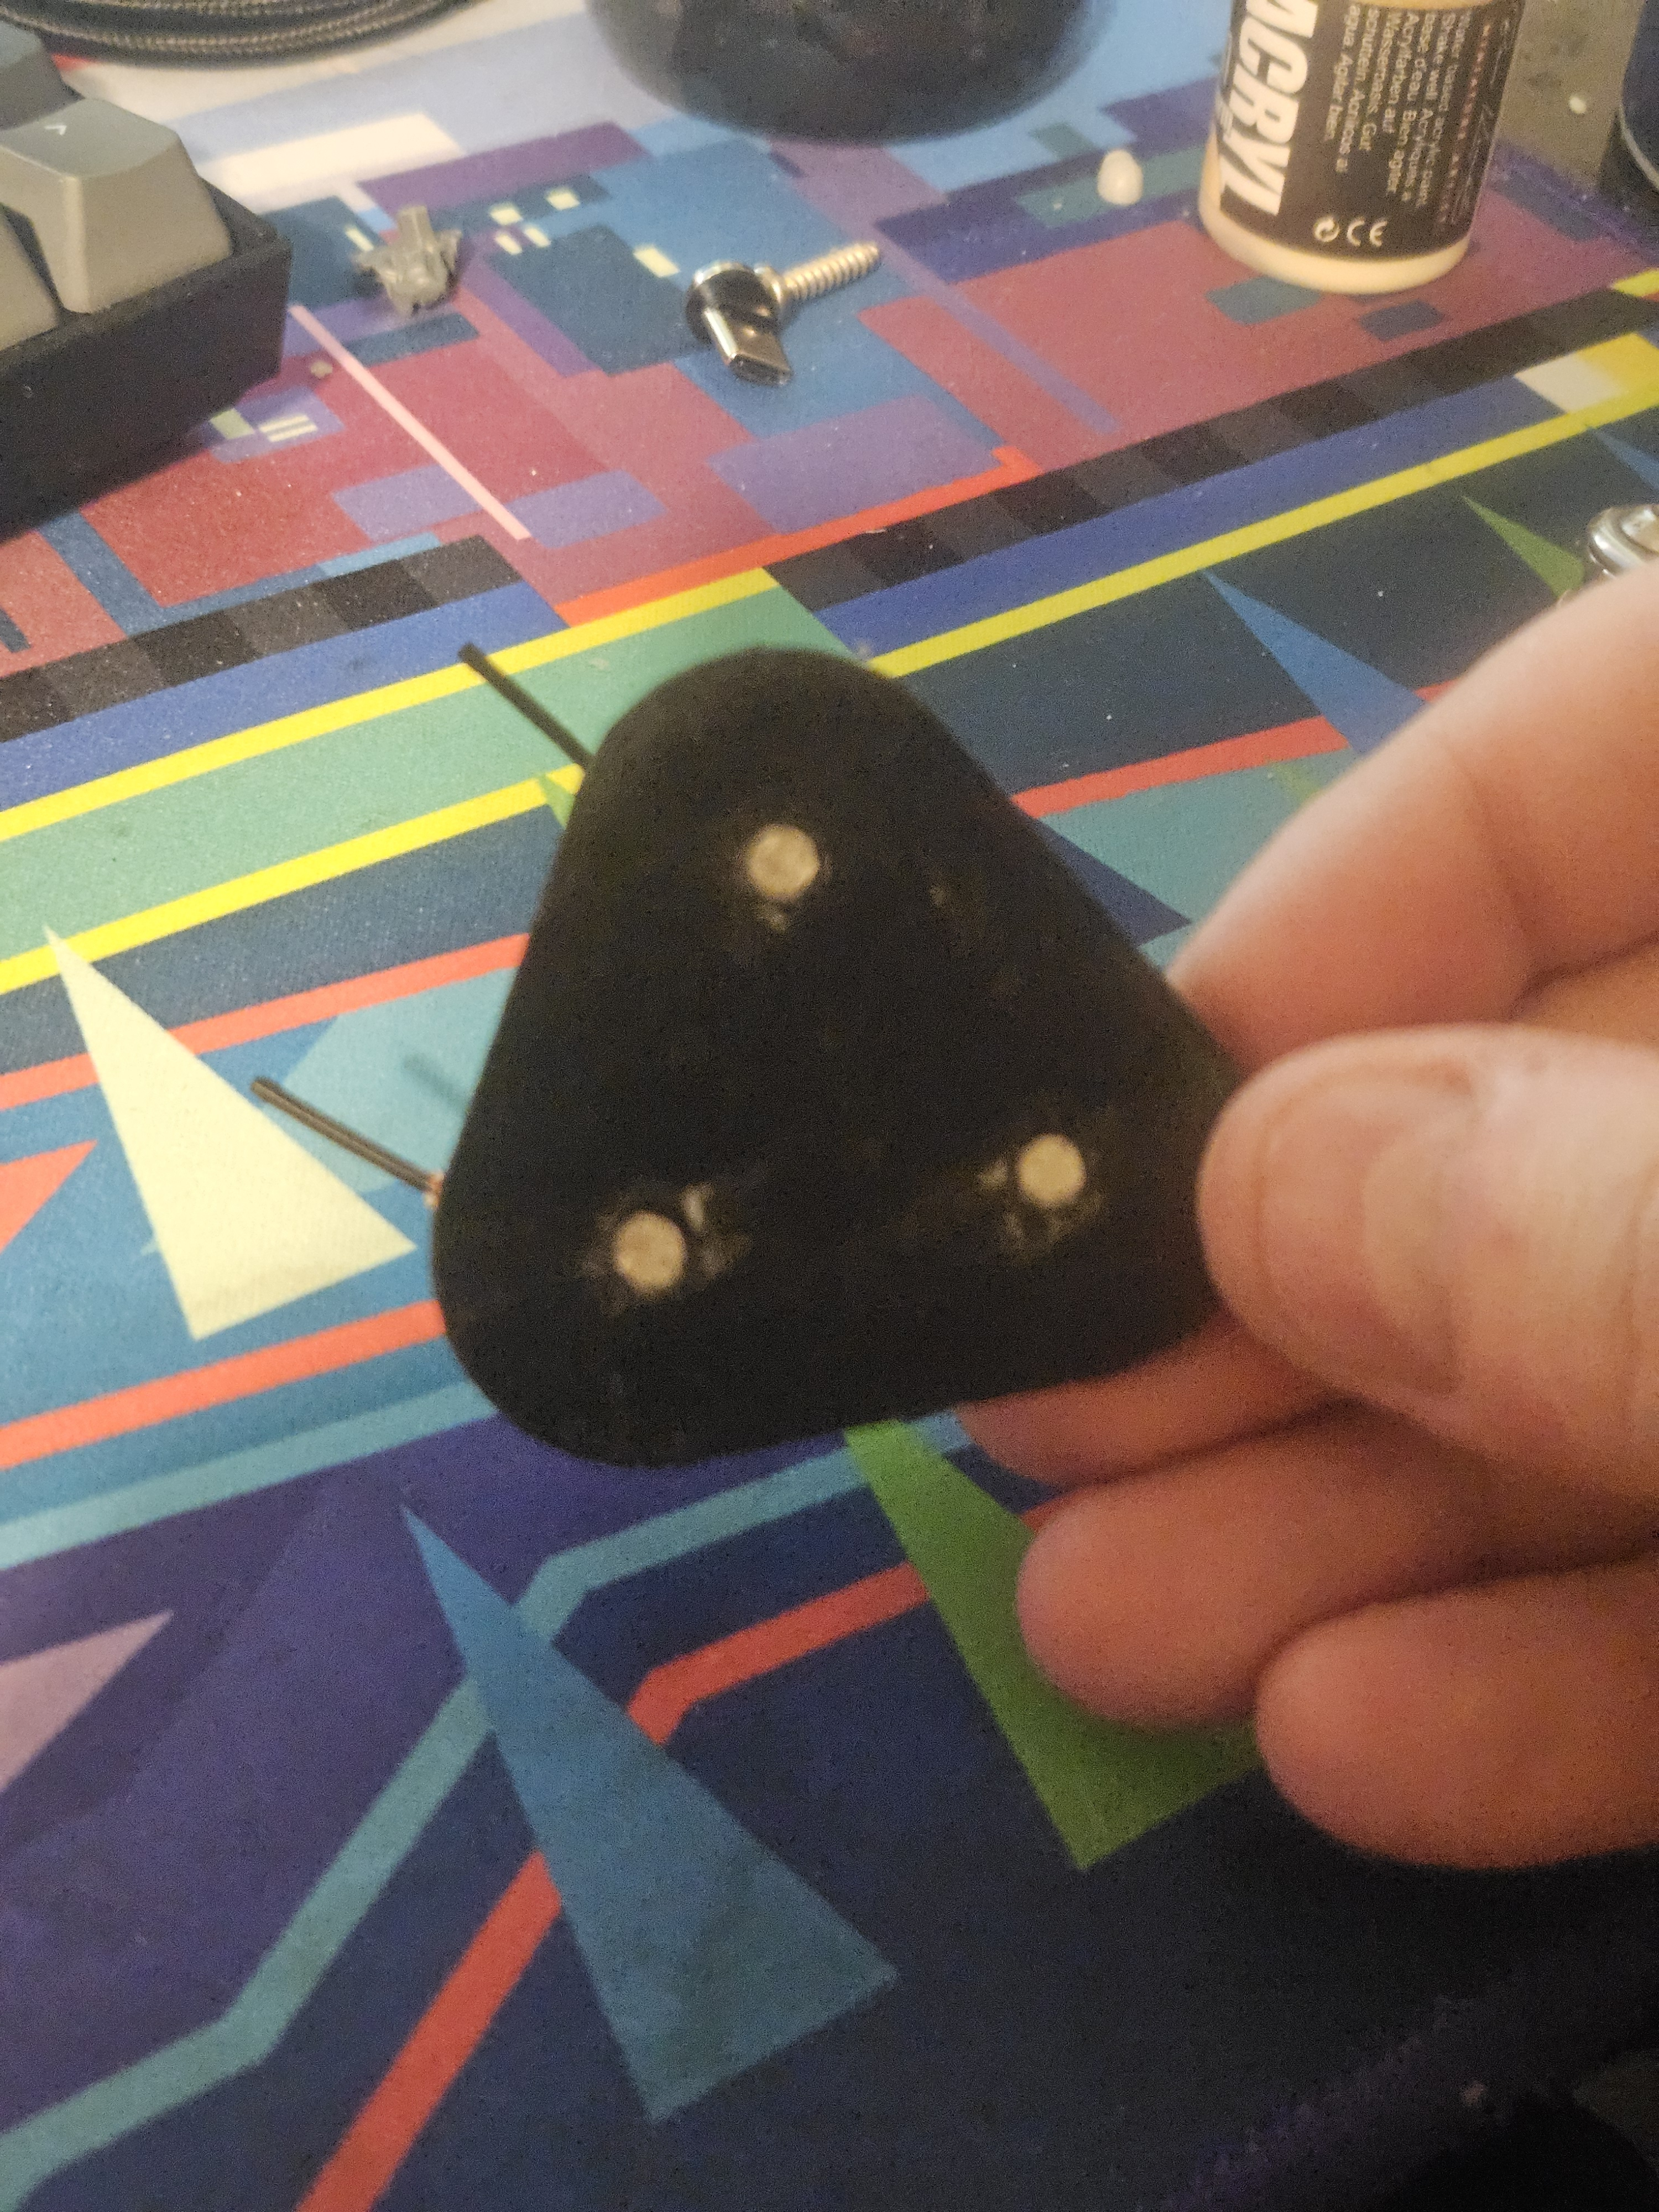
The trays are designed for 4mm x 2mm magnets, which are easy to find on Amazon.
Add a small amount of super glue to each cavity, then press the magnets into place. Keep polarity consistent across trays so they all behave the same way in storage boxes.
3. Attach Strike Plates to Bases
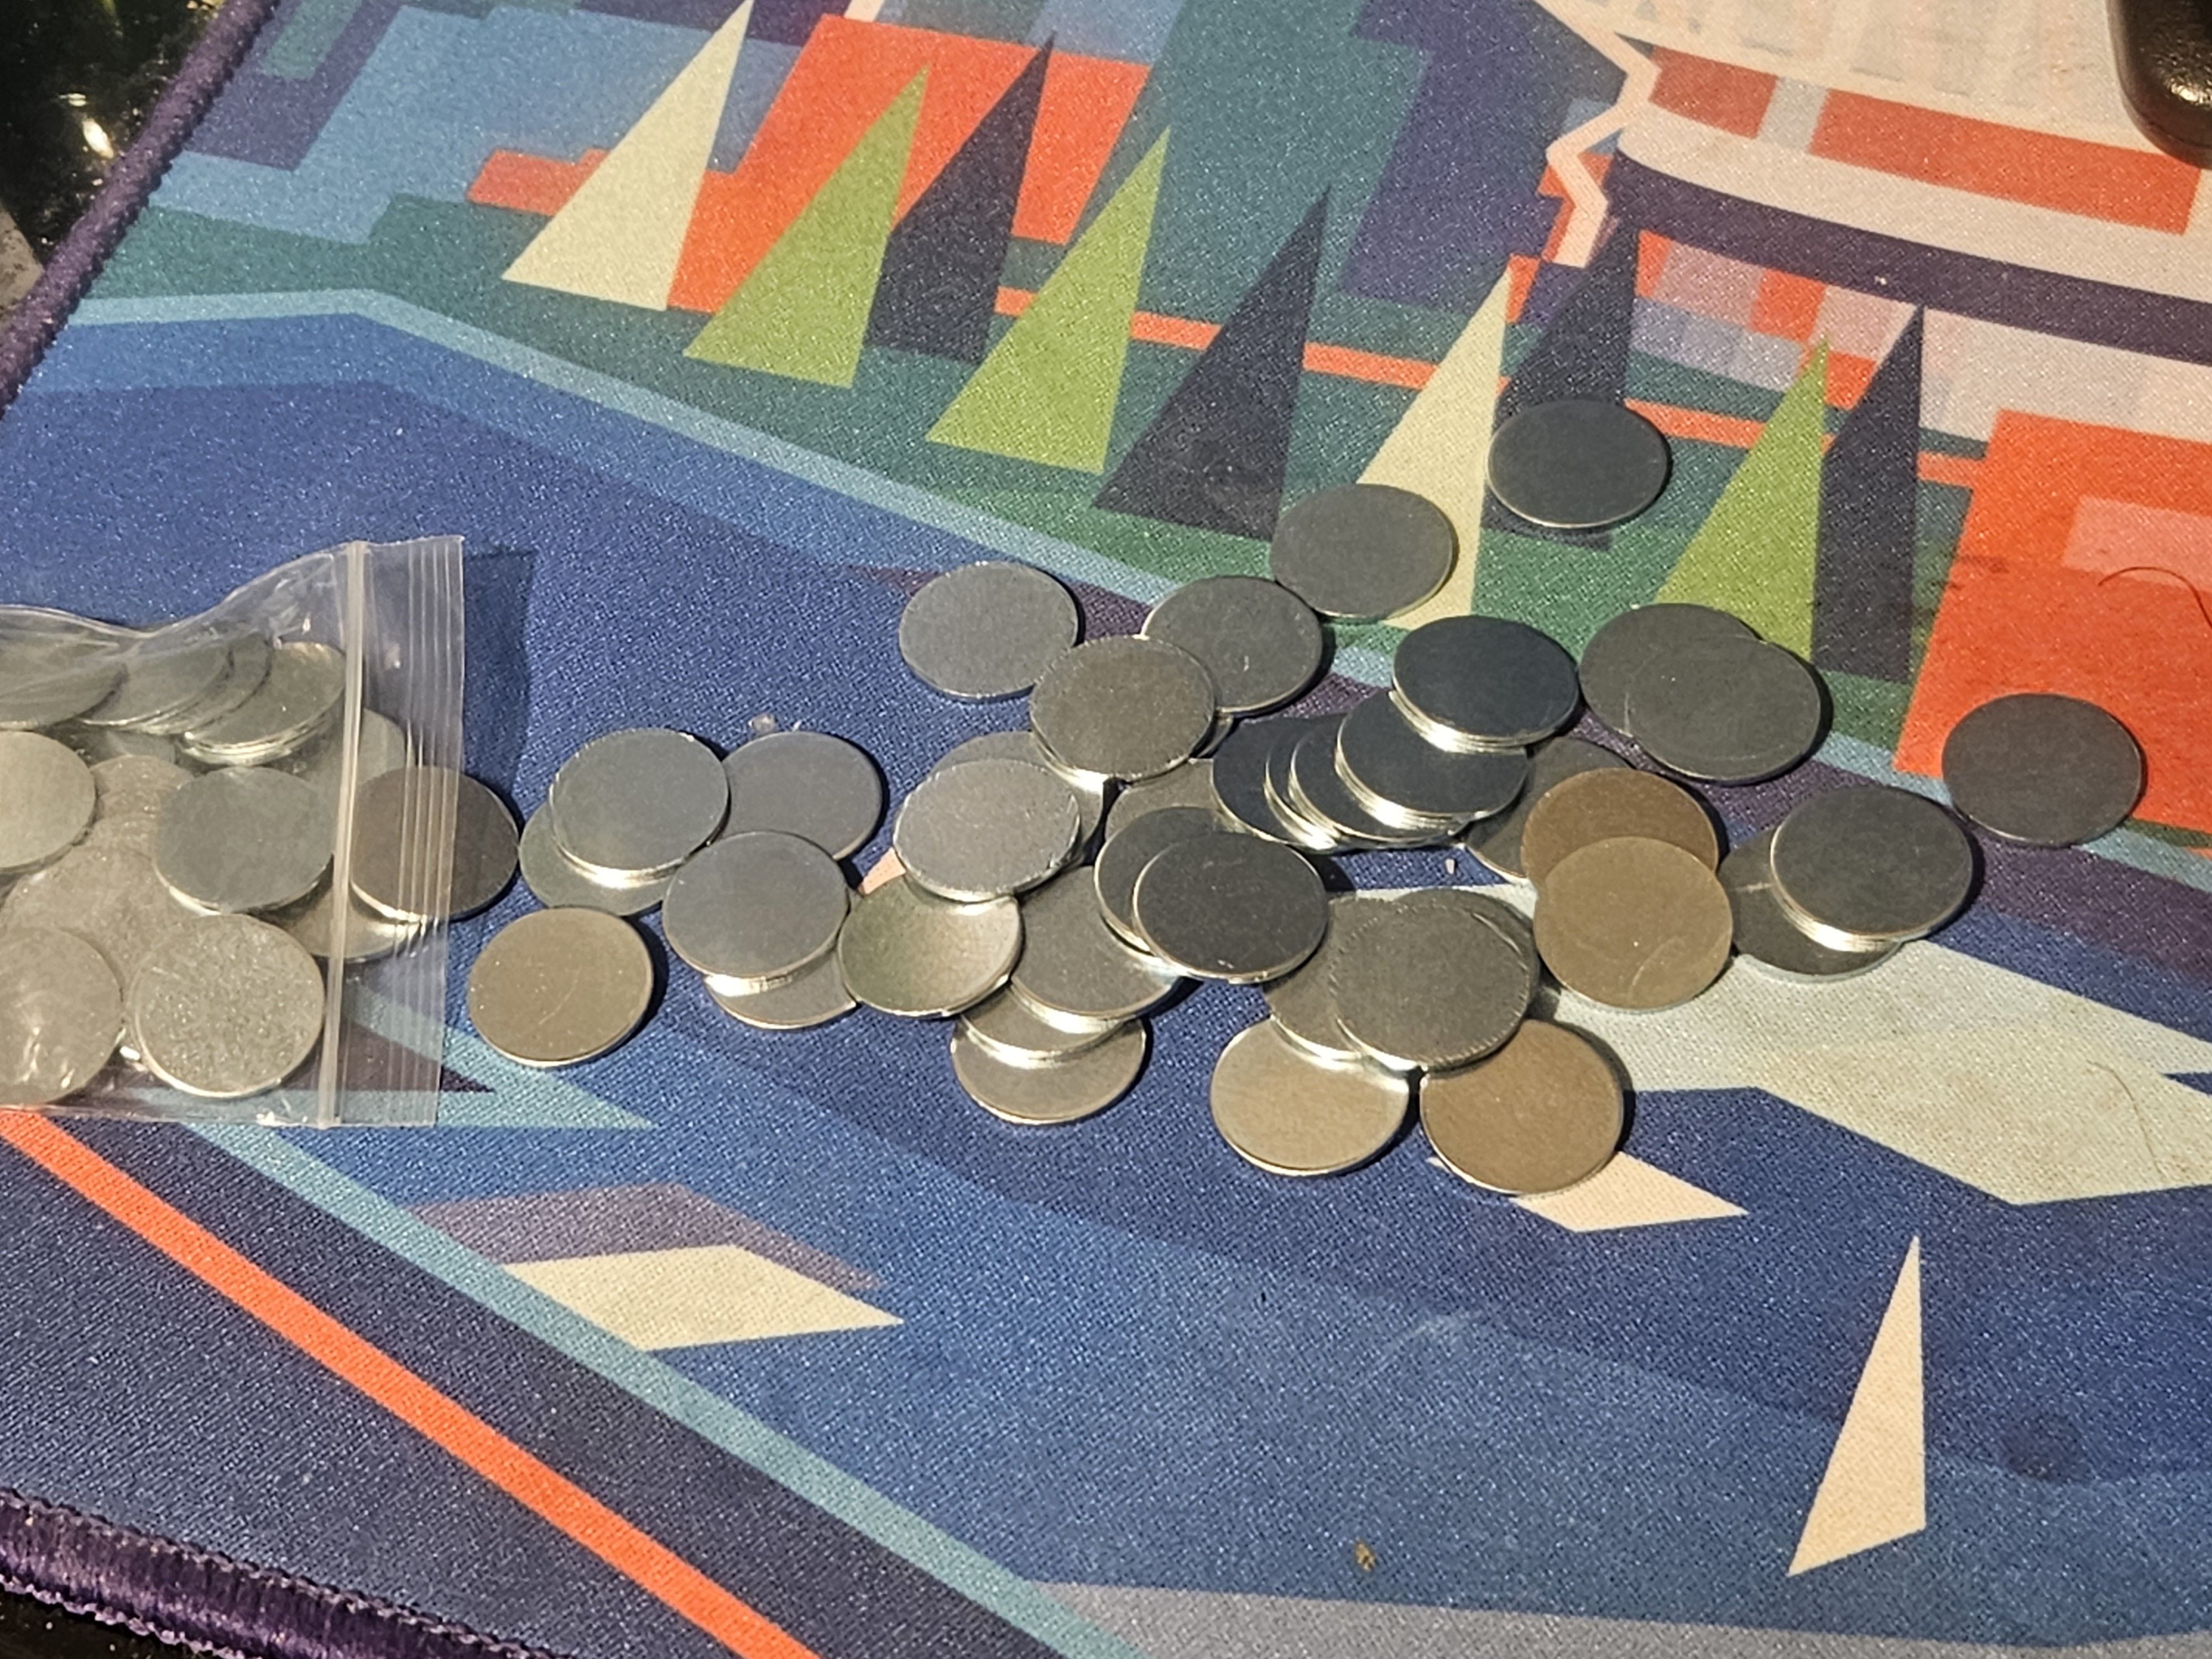
Attach steel strike plates to the bottoms of your miniatures. I found a pack of 100 for $6.95 USD here: https://www.buyneomagnets.com/p/16mm-x-1mm-small-steel-disc-blank-metal-strike-plates/
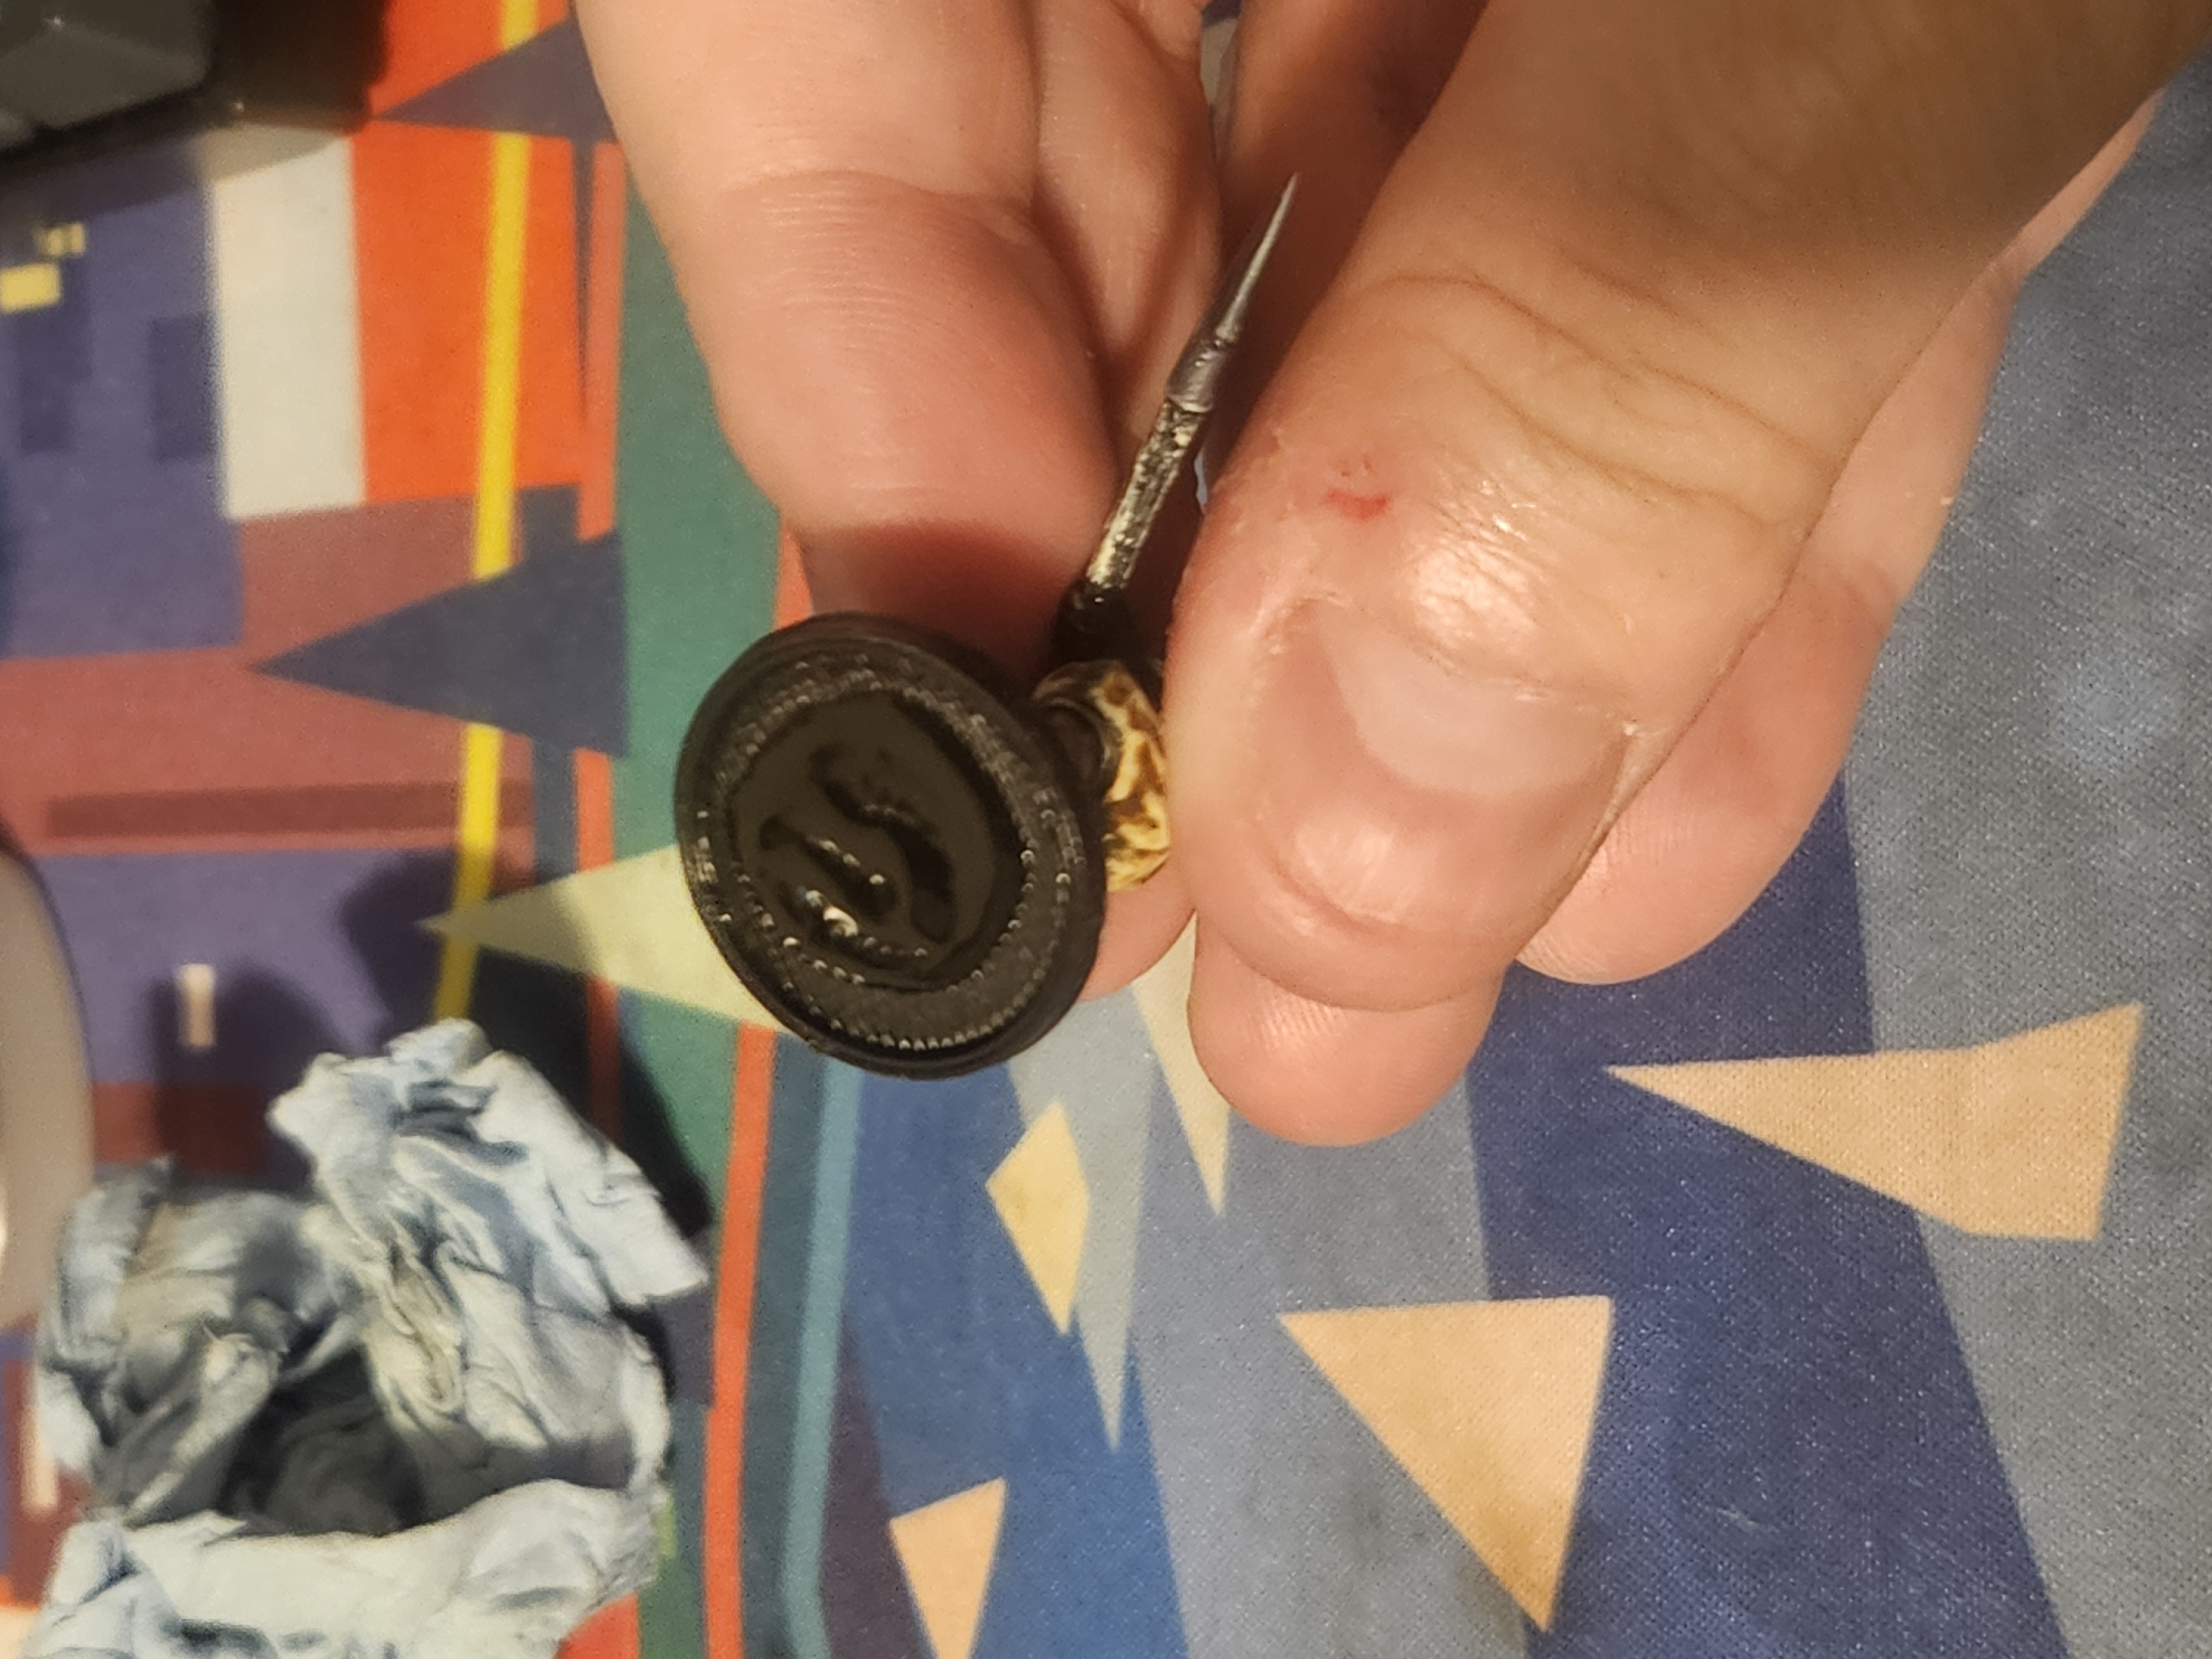
Use a small amount of super glue on each base and press the plate down firmly.
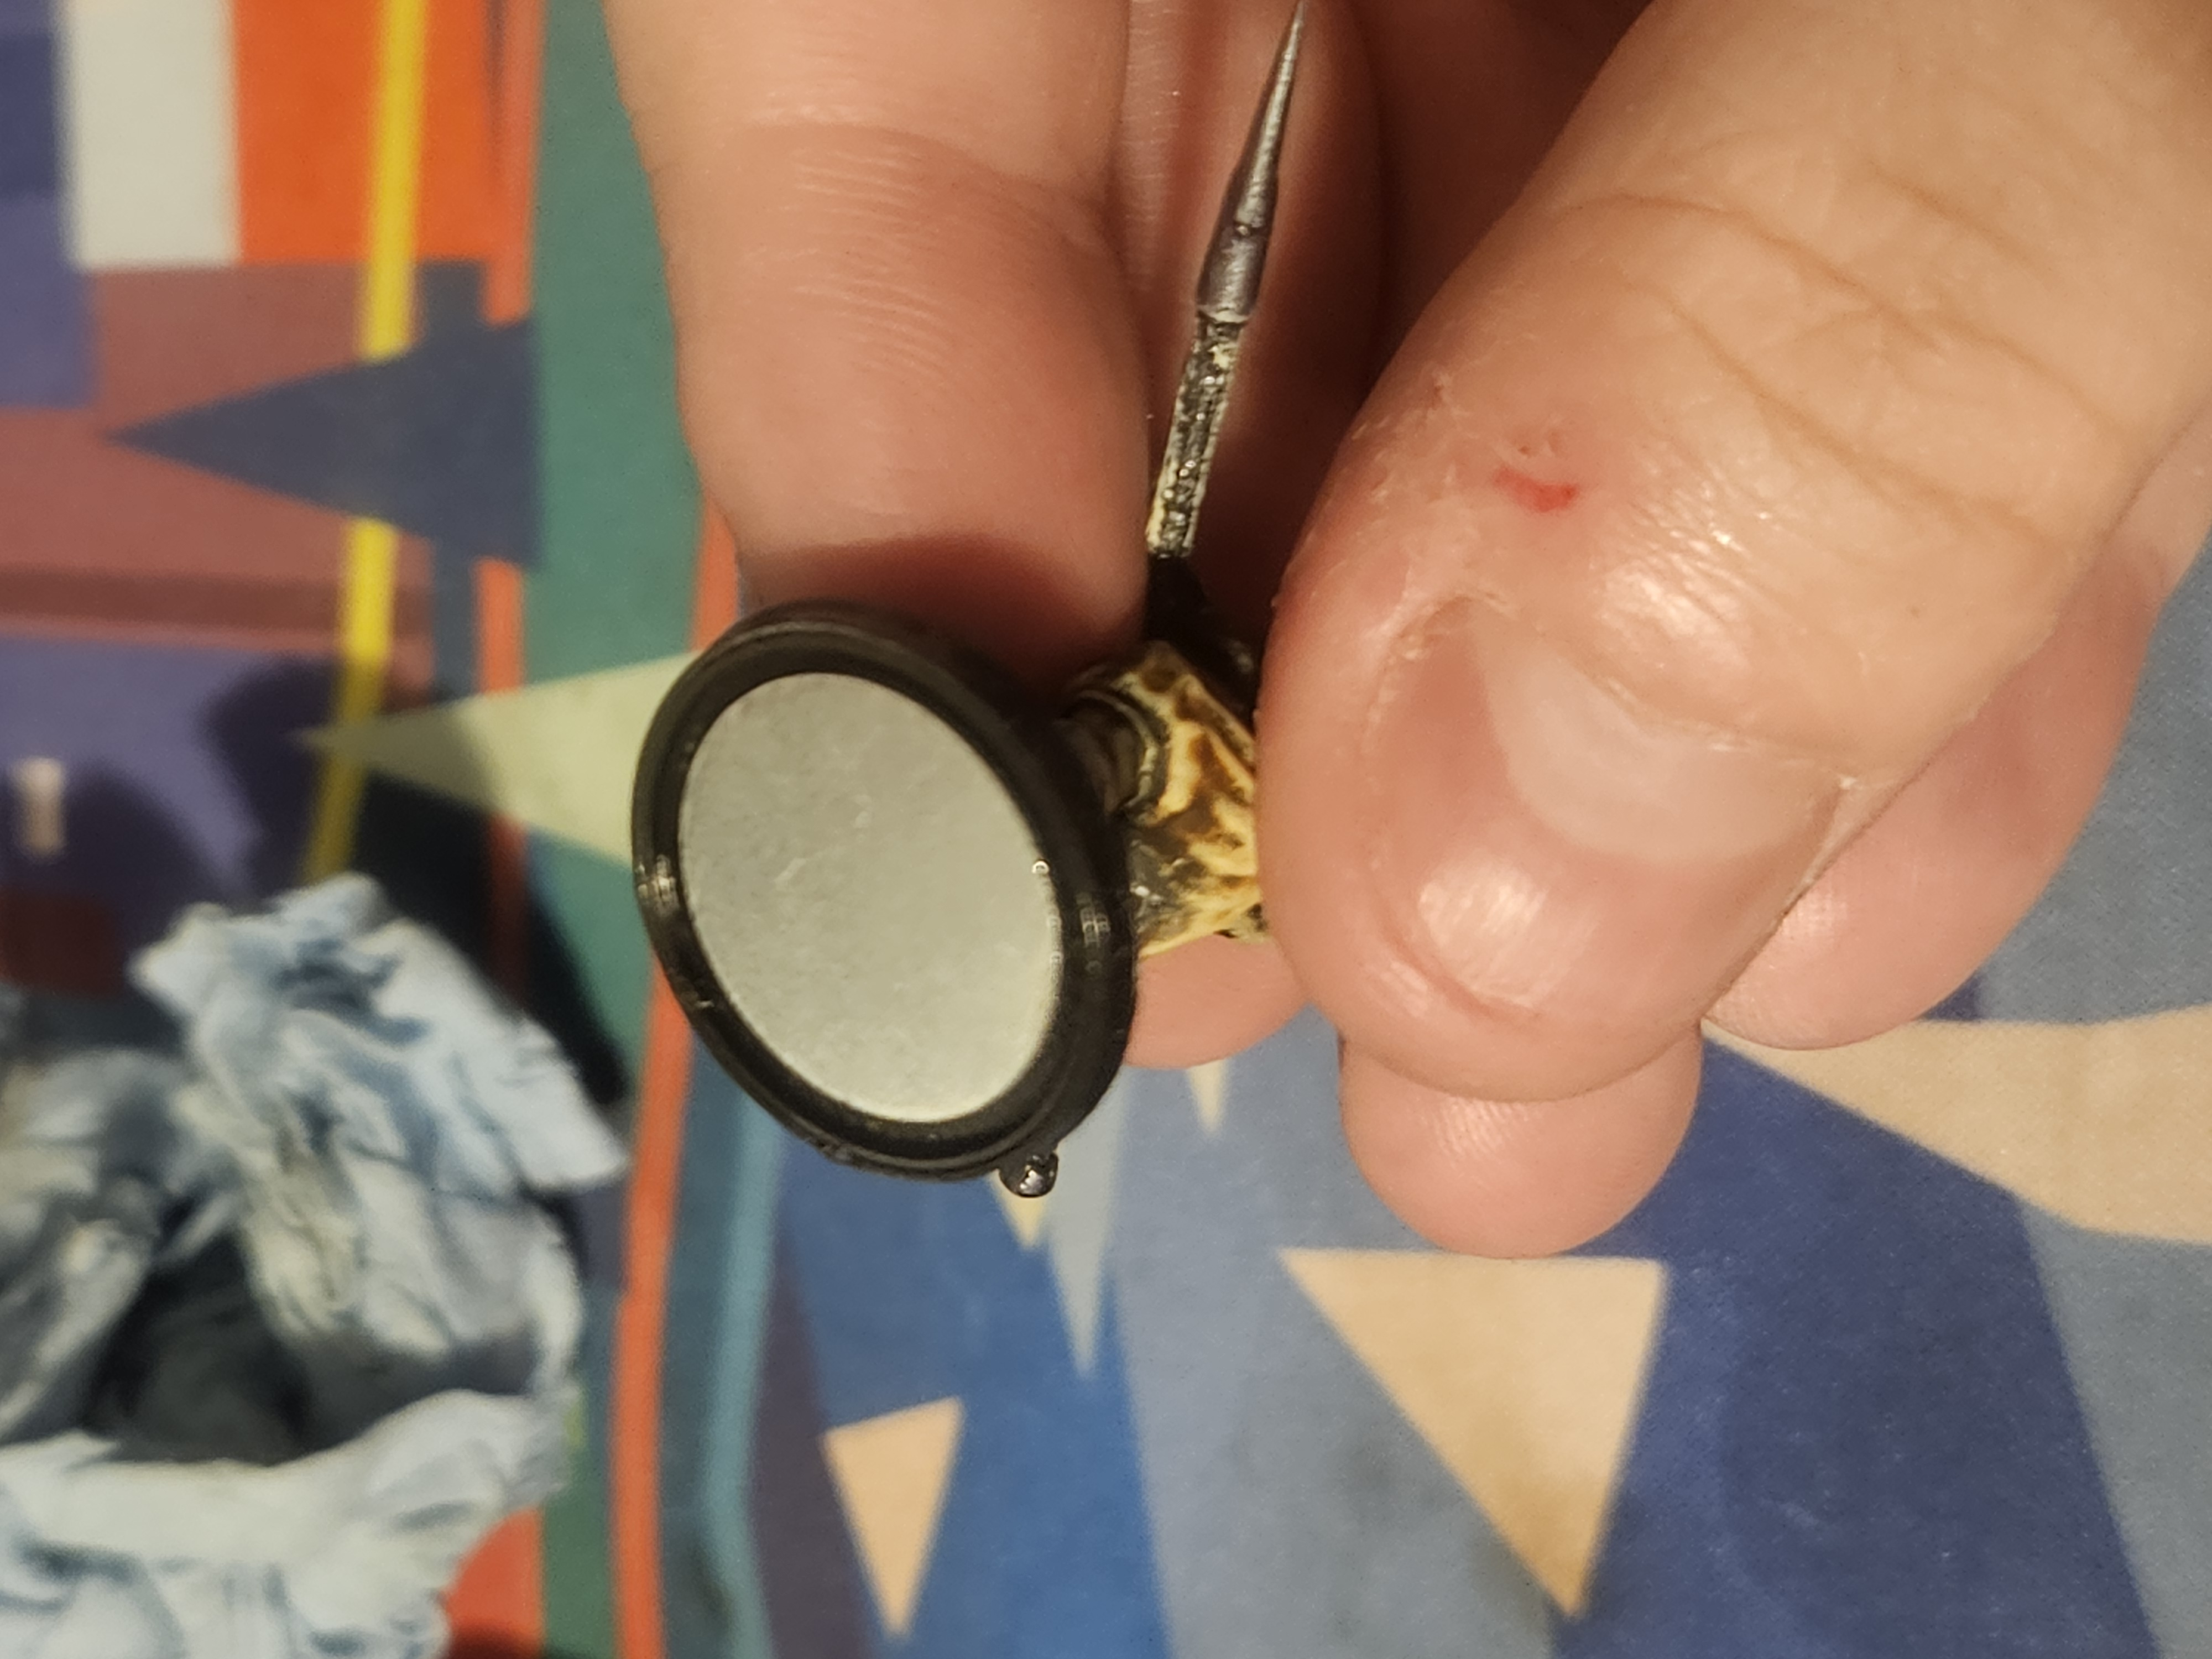
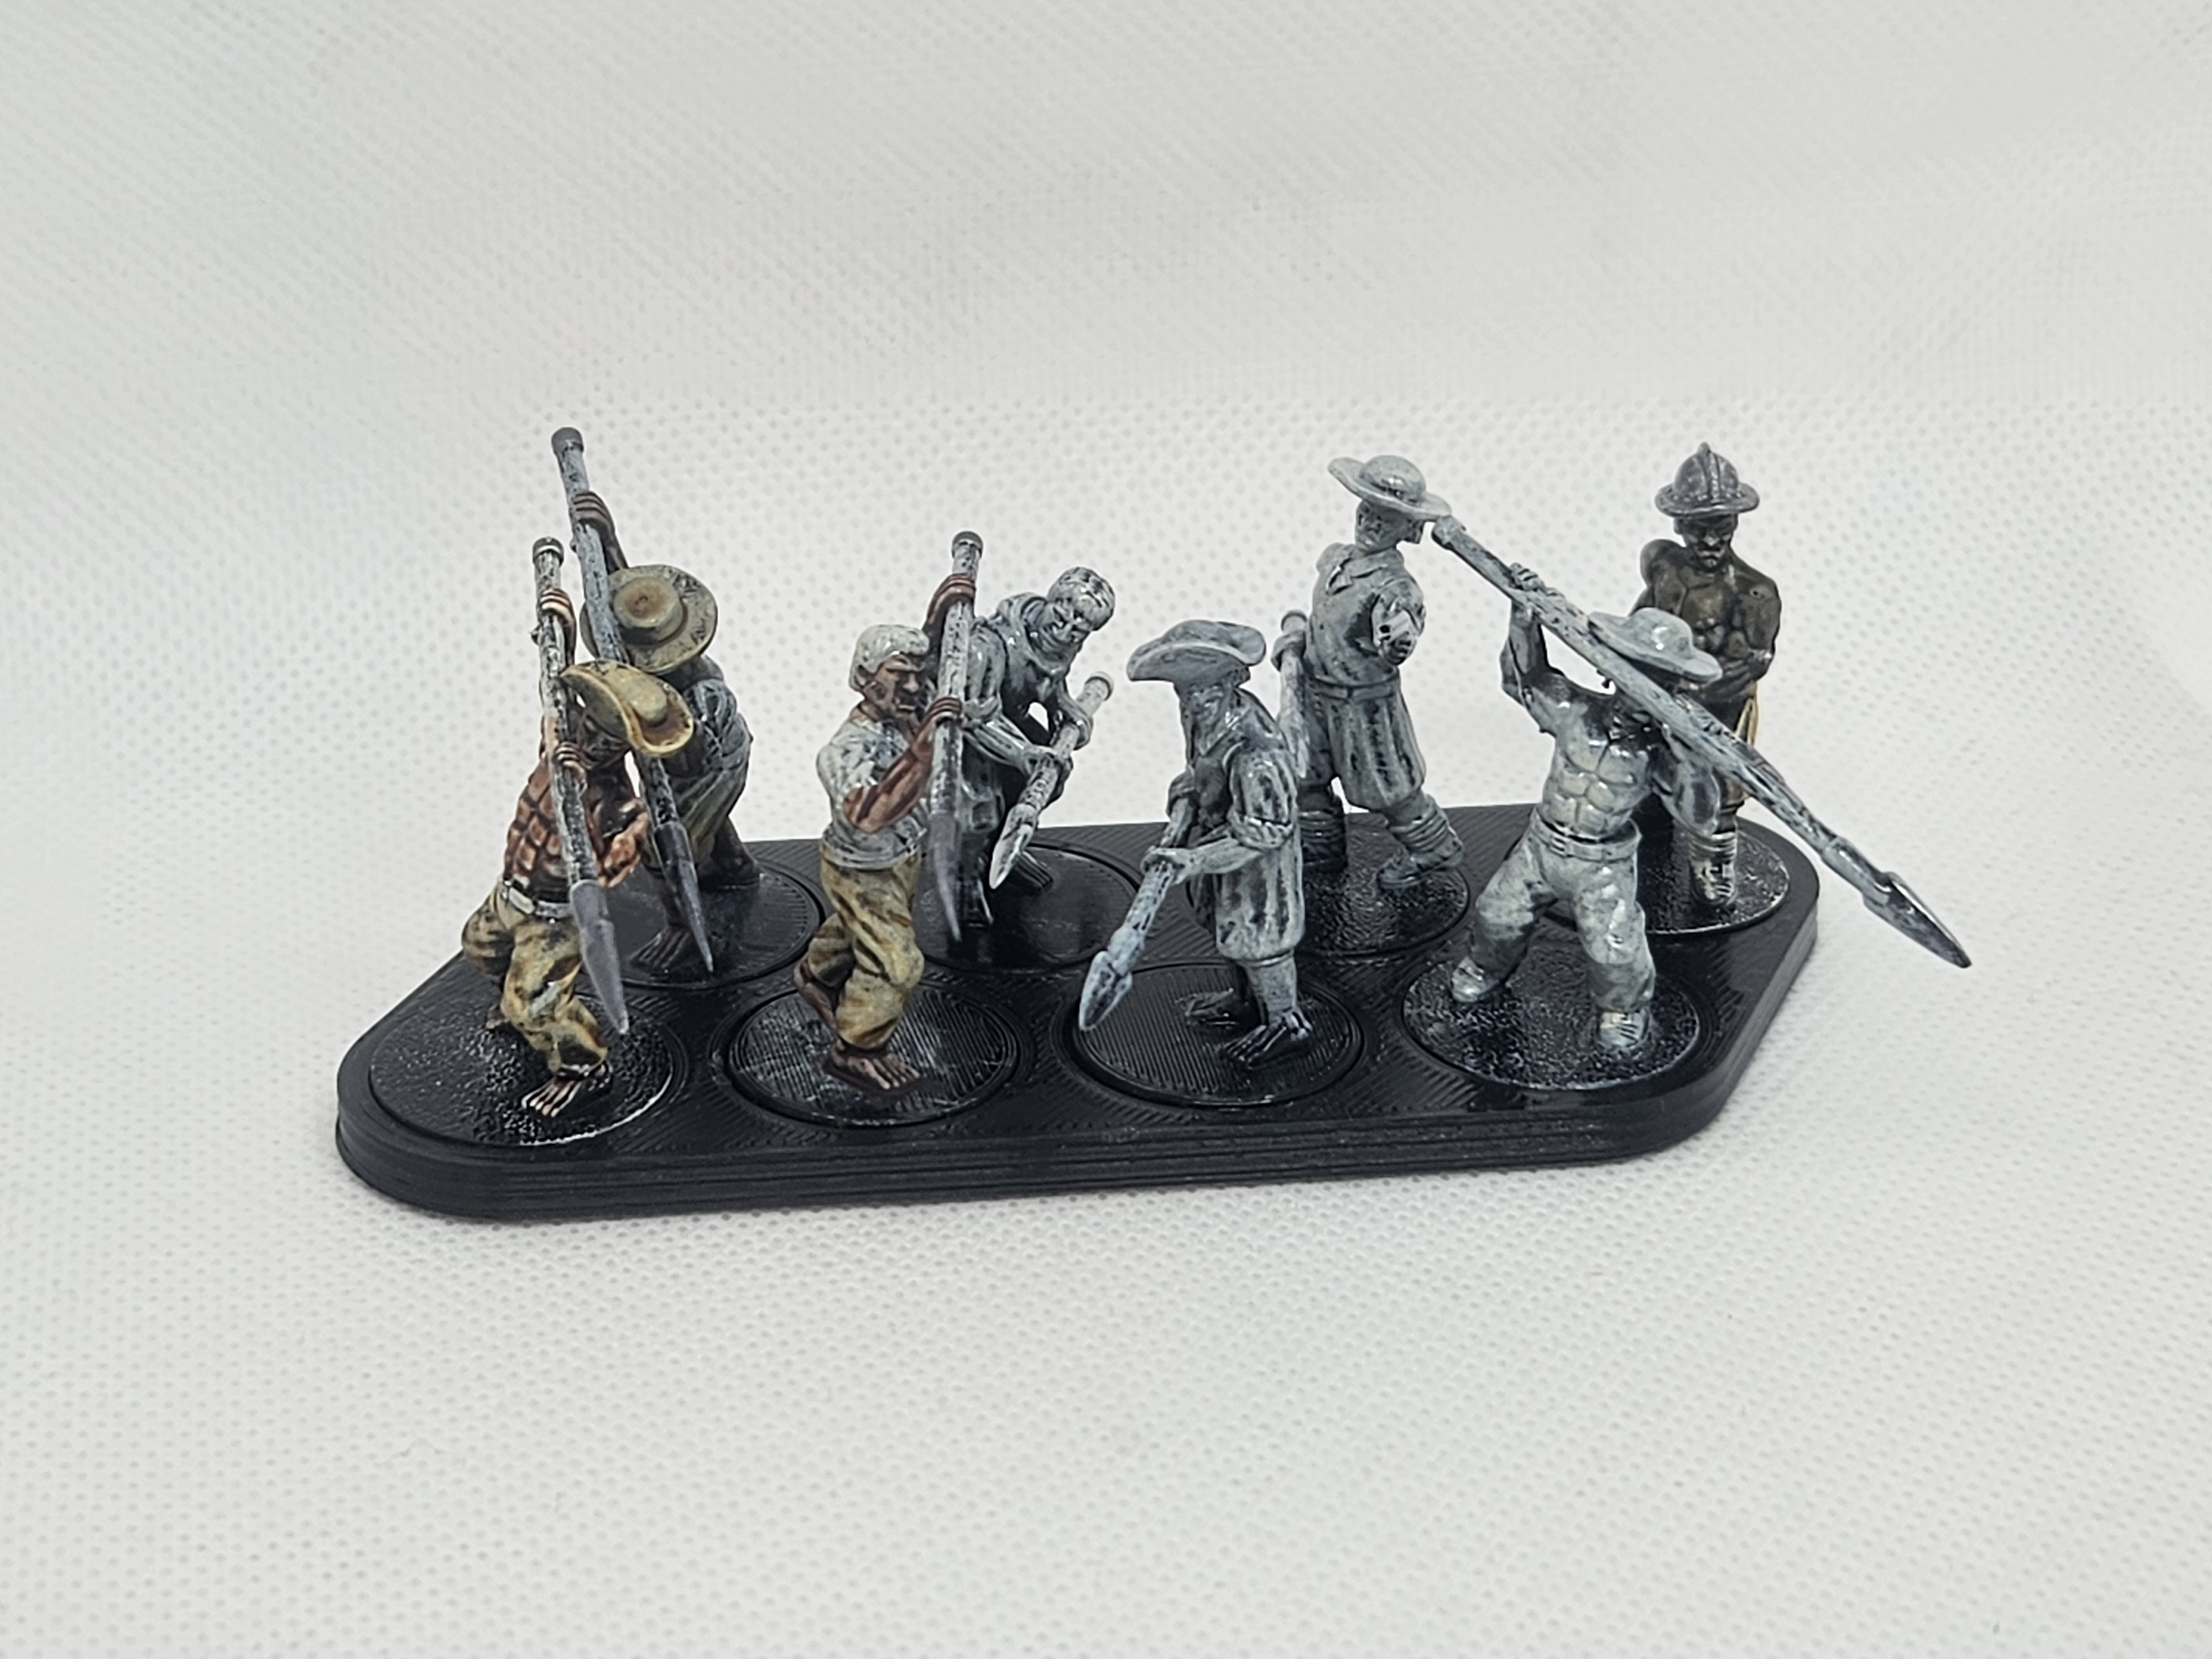
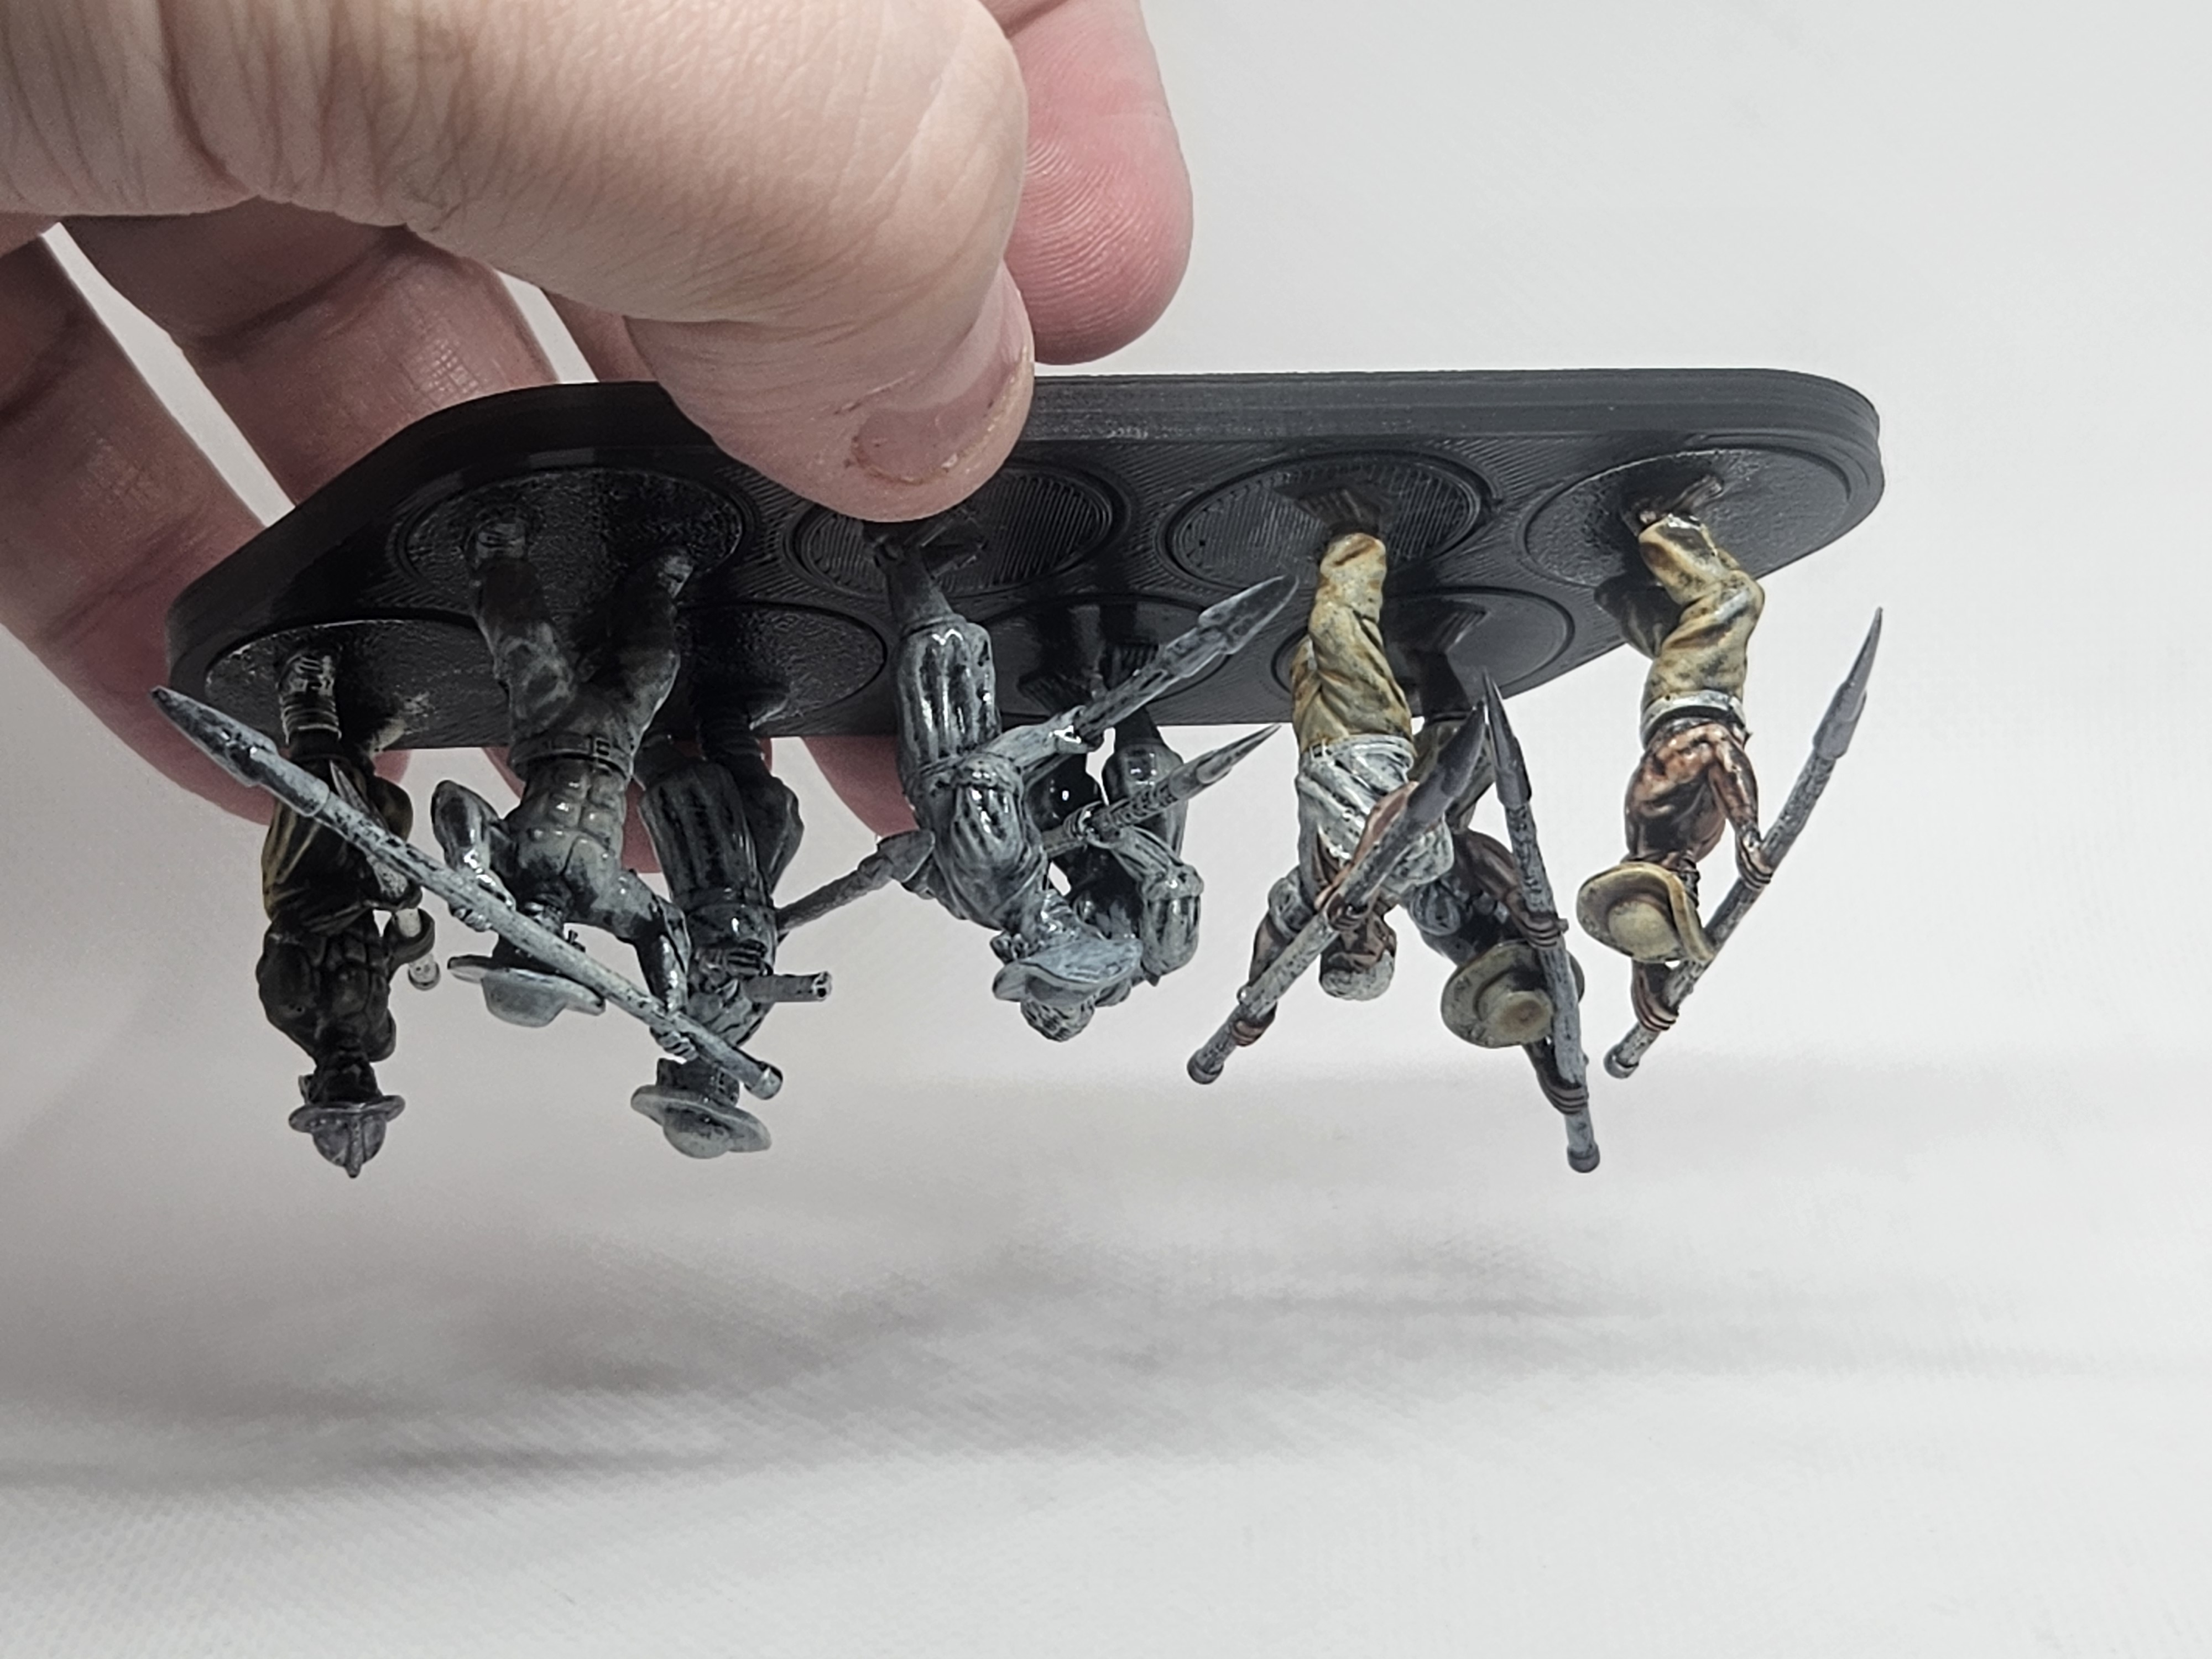
4. Stow Miniatures in the Trays
Once the glue is fully cured, place models onto the trays and then place the trays into your storage box. This keeps miniatures organized by unit, speeds up setup at the table, and reduces paint damage during travel.
5. Store Trays
Once the trays are loaded, you still need a place to put them. I use two solutions: a commercial Magna Rack-style case and a DIY rack system.
For a ready-made setup, Battle Foam sells complete rack cases. If you’d rather build your own, Brent from Goobertown Hobbies has a solid walkthrough for a DIY version.
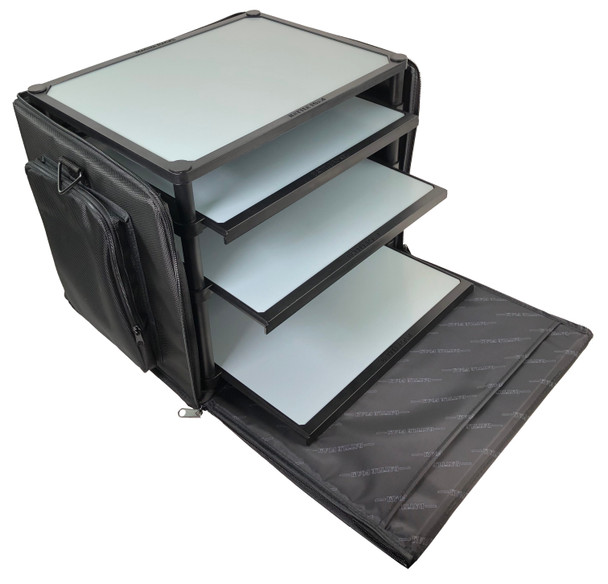
- Commercial rack case: Battle Foam 720 P.A.C.K. with Magna Rack Sliders
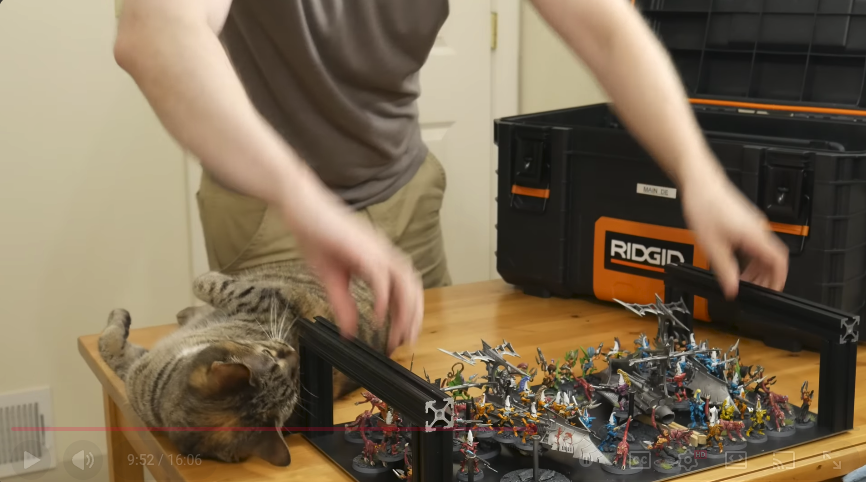
- DIY build video: Goobertown Hobbies - DIY miniature storage solution